Using Git Credentials
Steps to Create a Custom Registry
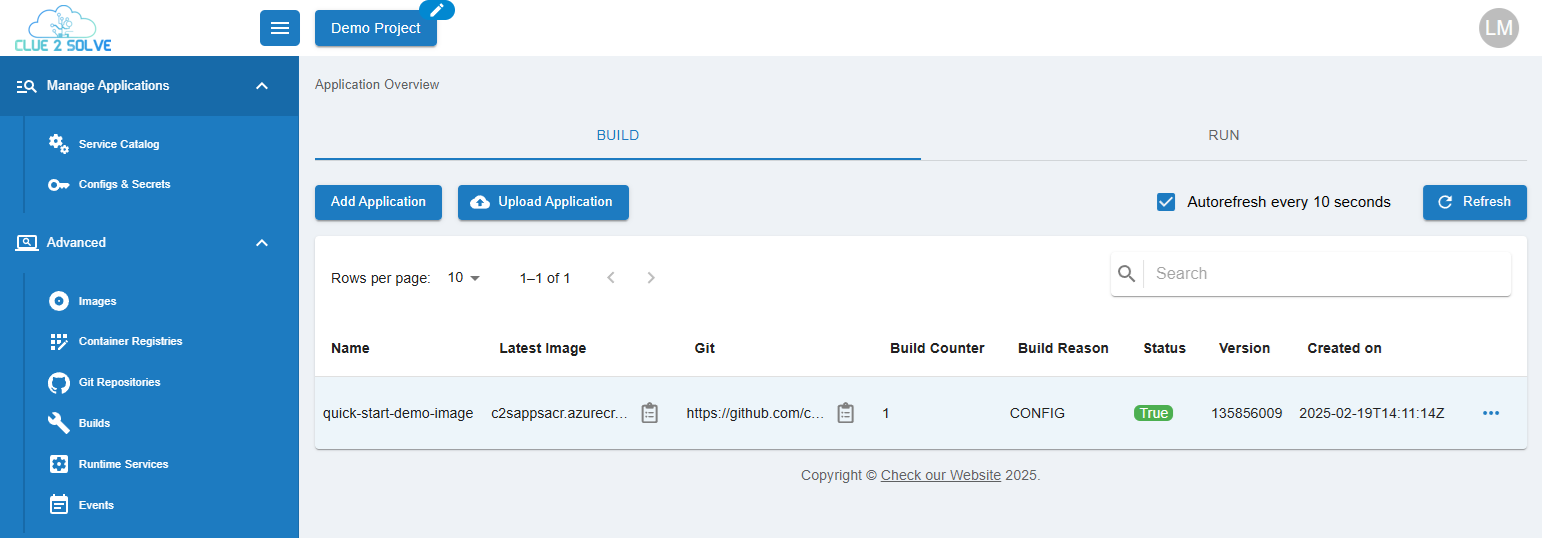
1. Create a New Application:
- Ensure you are in the Build section.
- Click on Add Application to create a new application.

2. Application Information:
- Application Name: Enter a name for your application (e.g.,
build-demo). - Git Repository: Provide the Git repository URL:
https://github.com/clue2solve/clue2app-fastapi-demo.git - Git Revision/Branch: Set to
main. - Git Access Type: Choose Private.
3. Using Git Credentials:
-
In the Source Code section, you can select previously saved Git credentials from the dropdown menu. Ensure that you have created the required credentials beforehand.

-
If you want to create new credentials directly in this section, select New Credentials from the dropdown and enter the necessary details.

-
If you need guidance on creating Git credentials, please navigate to the Creating Git Credentials page for detailed instructions.
4. Docker Image Registry Selection:
- Choose Platform Hosted Registry or your own private registry.
- For information on using a Custom Registry, please refer to the Using Custom Registry page.
5. Service Deployment:
- Ensure Deploy Automatically is checked.
- Container Port: Enter the appropriate port number (e.g.,
8000).
6. Config and Secrets:
- This can be skipped for now. However, if your application requires specific configurations or secrets, make sure to set them up accordingly.
7. Save Application Information:
- After completing all fields, save the application.
- A status indicator will appear immediately after saving, and after a minute, the application status will be updated to show successful creation.
8. Run Your Application:
- Click on the RUN section to view your project. A URL will be generated for your application, allowing you to access it.