Creating Custom Registry
This guide outlines the steps to create custom registries for images in Clue2App.
Steps to Create a Custom Registry
1. Navigate to Registry Management:
- From the Advanced menu, click on Container Registries to access the registry management page.
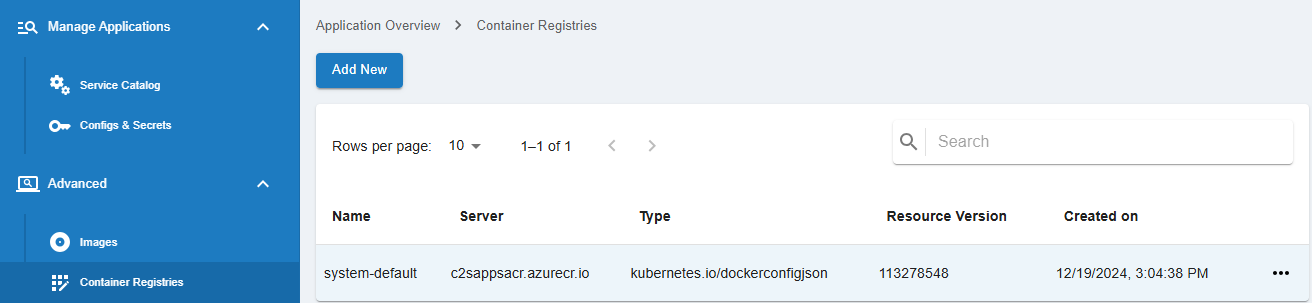
2. Creating a New Registry:
- Click on the Add New button on the Registries page.
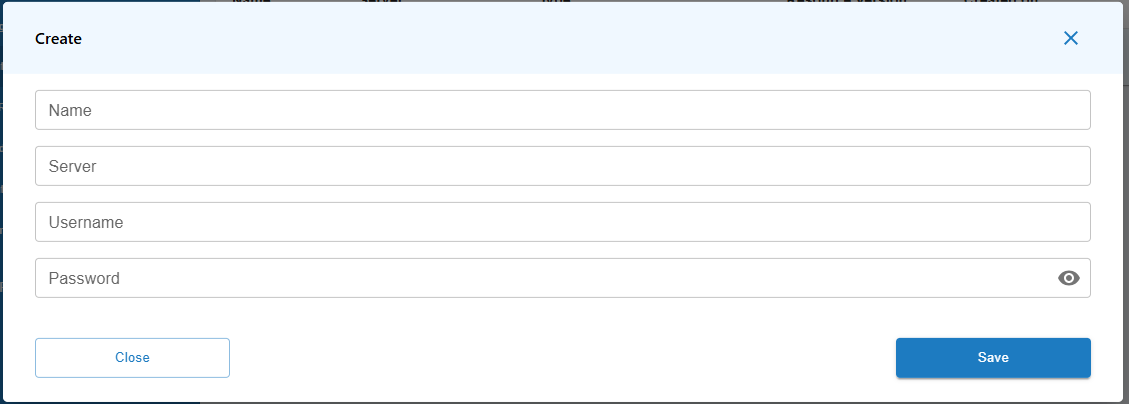
3. Fill in the Registry Details:
- Enter the following details:
- Name
- Server
- Region - available just when Server is on AWS
- Username
- Password
4. Saving the Registry:
- After filling in the necessary information, click the Save button to create the registry.
5. Using the Registry:
- Once the registry is created, it will be available in the dropdown menu for selection when you create a new build application.

Creating a Registry During a Build Application
You can also create a custom registry while setting up a new build application:

1. Creating a New Build:
- On the Create a New Build page, under the Docker Image Registry section, select New Registry.
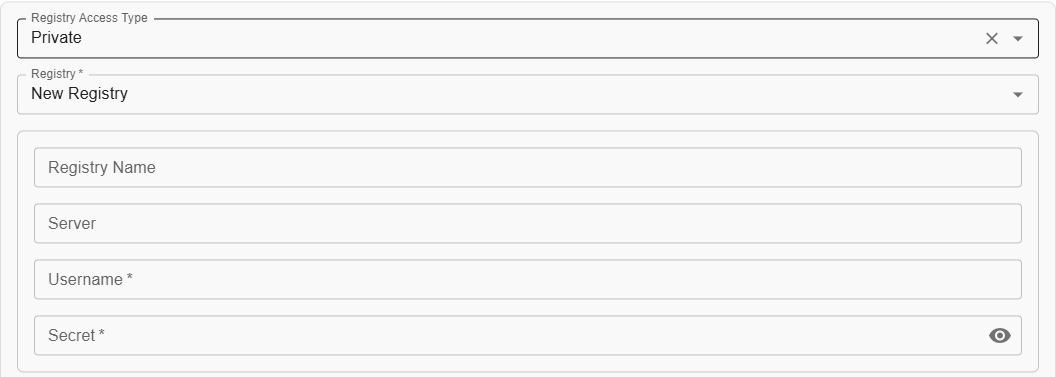
2. Fill in Registry Details:
- Enter the required details for the new registry as mentioned above.
3. Complete the Build Setup:
- Once you’ve created the registry, you can proceed to complete your build setup using the newly created registry.
Following these steps will allow you to effectively manage and create custom registries for your images in Clue2App.