Manage Projects
This guide outlines the steps to manage projects and users who can access project resources. It explains how to create new projects, how you can secure related resources by by managing user access and locking.
By default, each account have already created an default project named as account name. New projects can be created just by Account Admin and are limited by account plan.
Steps to Create a new Project
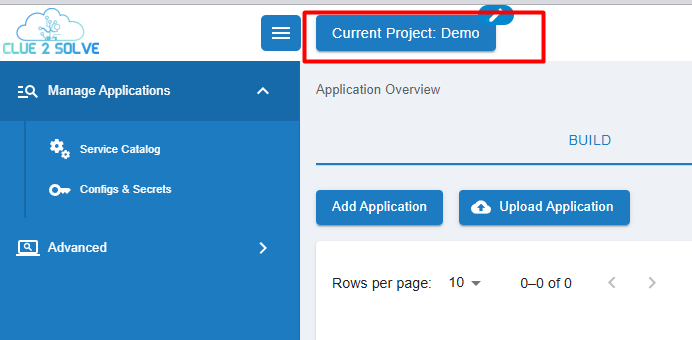
1. Navigate to Manage Projects popup:
- Use Current Project button from page header to access the Manage Projects popup, then goto New Project tab.
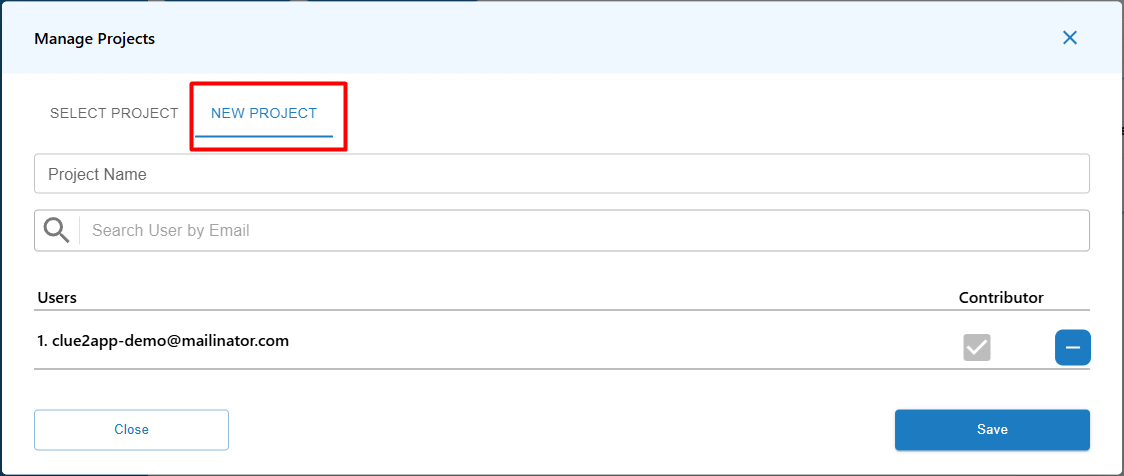
2. Fill in the new Project details:
-
Enter the following details:
- Project Name
- Users - use Search User by Email input to search for existing account users
-
Check Contributor flag to allow the new user to make changes into project
3. Saving the Project:
- After filling in the necessary information, click the Save button to create the project.
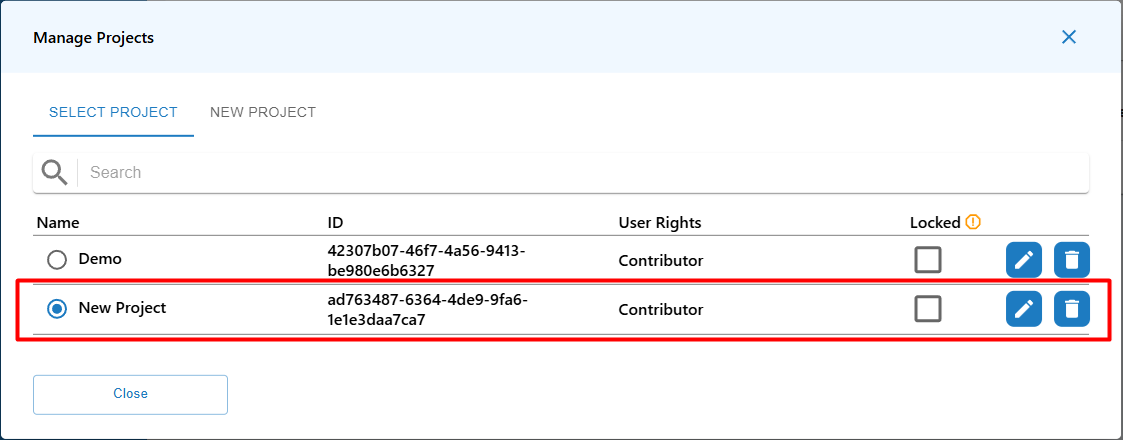
3. Use the Project:
- Now the project is available for usage in Manage Projects popup. Make sure new project is selected from the projects list.