User Management
This guide outlines the steps to manage user roles and permissions in the system. It explains how to assign different roles to users and configure their access levels to ensure proper management of applications, services, and account settings in Clue2App.
User Roles and Permissions:
Below is a summary of user roles and their corresponding permissions:
| Role | Permissions |
|---|---|
| Account Admin | Full administrative rights: Add/edit applications, manage users/groups. |
| Account Manager | Edit users and groups. |
| Service Admin | Manage service catalog: Add/edit services. |
| Service Manager | Edit service catalog entries. |
| Application Admin | Manage applications: Add/edit applications. |
| Application Manager | Edit existing applications. |
| Application Developer | Read-only access to applications. |
Each role ensures appropriate access to resources and functionalities based on responsibilities.
Steps to Create a User under Account Admin
To get an Account Admin account, you need to contact support to have one added by the system administrator.
1. Navigate to the Account Management Page:
- Click on Avatar to access the account management page.

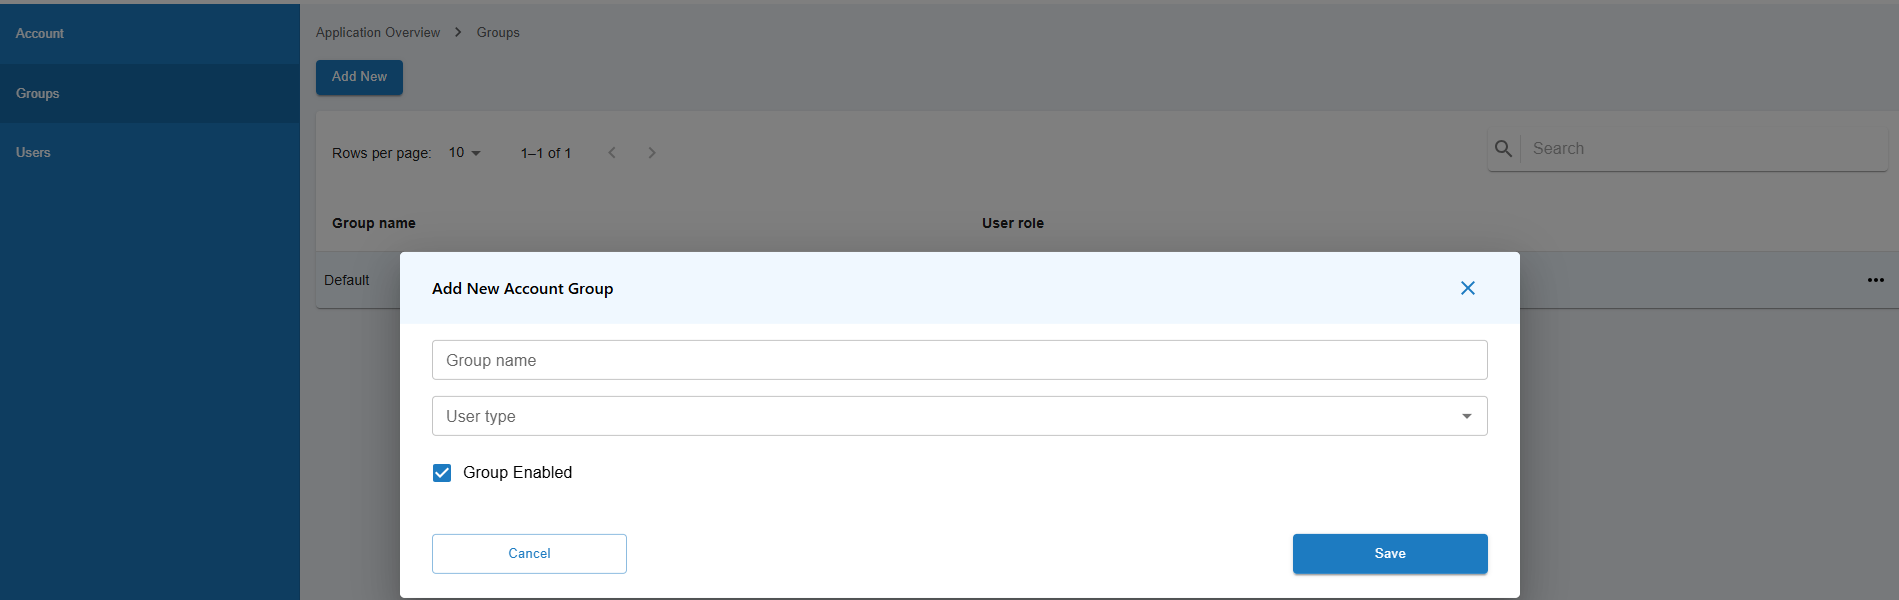
2. Add a New Group:
- Create a new user group by clicking on the Add New button.
- Enter the required details, such as group name and user type, then click Save.
3. Add a New User:
- On the Users page, click on the Add New button to create a new user.
- Fill in the user details, including User Source, Name, Email, and Username.
- Choose the appropriate Groups for the user.
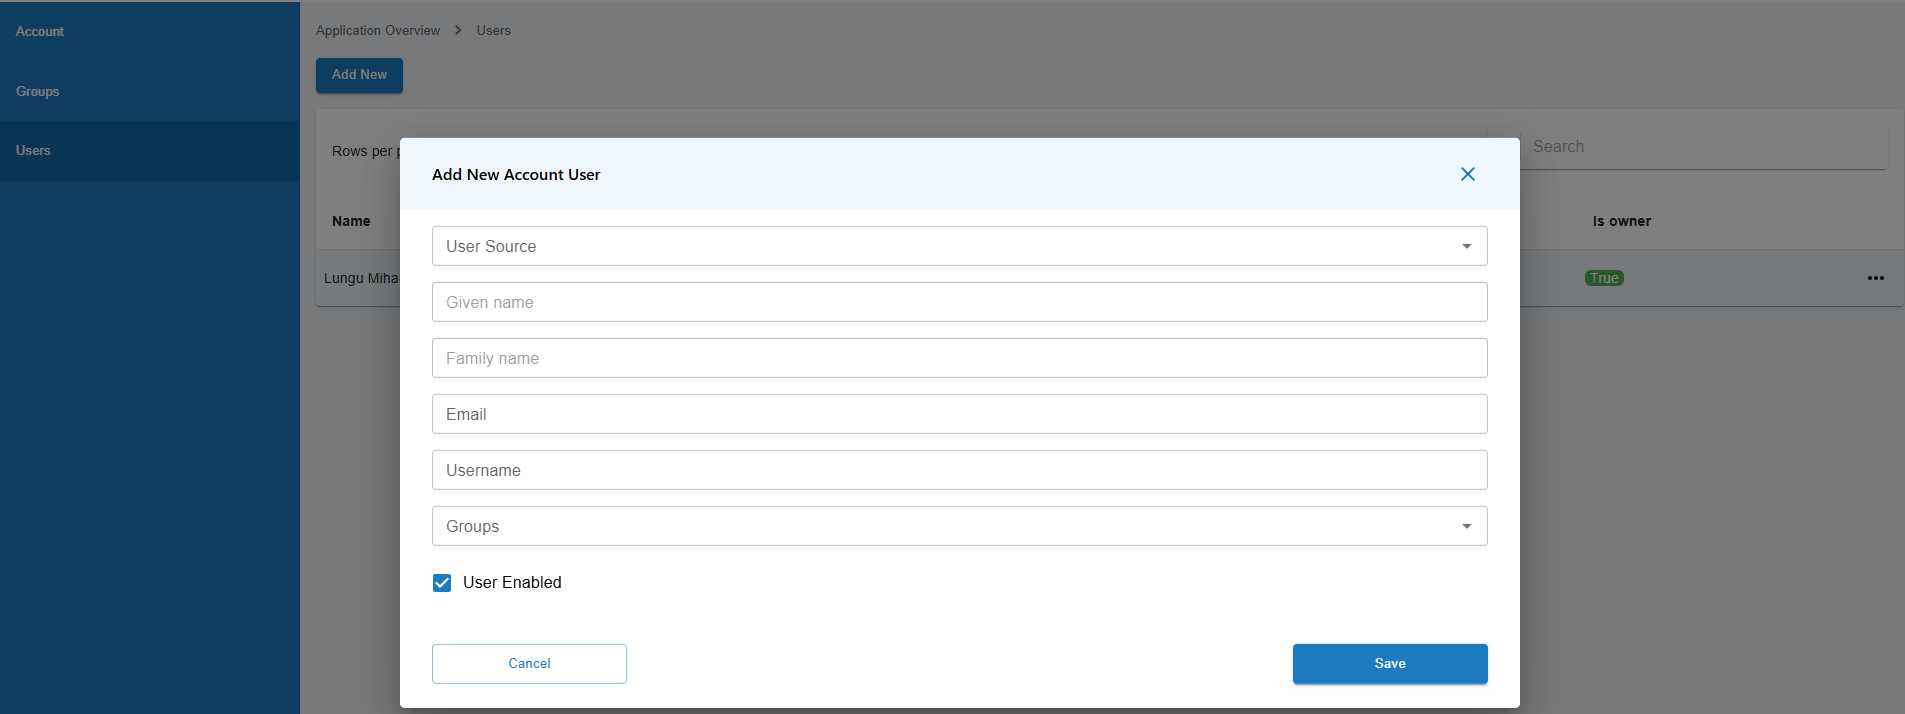
4. Save the User:
- After entering all the user information and assigning groups, click the Save button to complete the process.
5. Inform the User:
- Notify the user about their new Account access and provide them with login credentials if required.
Each step ensures that users are properly created and assigned to the account under the Account Admin role, allowing them to manage applications, users, and groups effectively within the system.